2 years ago, I picked up a camera and began my journey with photography. But as a teenager, I grew up going to sessions with my mother, who also happens to be a photographer, and would make an extra $20 here and there to help edit her images and create her clients custom photo albums. Who knew I would be where I am now back in those days! I presently eat, sleep, and breathe photography and have learned so much about the art and skill of it while running my portrait business for the last 2 years. Here are my top tips to improve your portrait photography!
Lighting

The biggest tip I can give in terms of photography is that lighting is one of the most important aspects of creating a beautiful picture. Lighting affects texture, focus, contrast, depth, shadows and it can really make the difference in between an “mehh” picture and a flattering one. If you’re photographing outdoors, strong, harsh light will be found in the afternoon sun and soft, magical light happens either in the early morning 1-2 hours after sunrise or at golden hour 1-2 hours before sunset. You can also go no wrong with cloudy days! Some photographers don’t like photographing during the grey days, as images can look flat and “dull” but I actually love cloudy days! Here’s why: you can place your subjects anywhere and the harsh sun won’t affect the color temperature! When photographing portraits in the mid-day sun, it’s important to place your subjects in the shade either underneath a tree, in a shaded alley or street, or with some sort of overhead covering as the light will create shadows on your subject’s face and look a bit unflattering. When it’s cloudy and the sun’s harsh rays are blocked, you have more freedom to use a variety of backdrops!
Simple tip: Opt for golden hour portraits and book your session 1-1.5 hours prior to sunset. Backlight your subject and get those magical rays in the background (bonus points if you catch some sun flare!) Cloudy days are a great backup plan.
Chat ’em up

More than likely, your subjects are nervous! They have spent time dreaming of their portraits, planning their outfits, applying their makeup, getting their family together – and when the day finally arrives, they are hoping for the best experience. This is your time to shine. Give them a warm hug when you see them! Ask them how they are doing! Compliment them on how great they look, the color coordination of their outfits, get them warmed up to you, so they will feel more relaxed when they real work begins. This is one of the most important parts of a portrait session, that so often photographers ignore or don’t spend enough time getting to know the people they are photographing. Give your subjects a friendly experience!
Simple tip: Focus on your subject and their experience. Start the session with a hug, warmly converse with them throughout the session, ask them questions, what do your subjects love? – Talk about that!
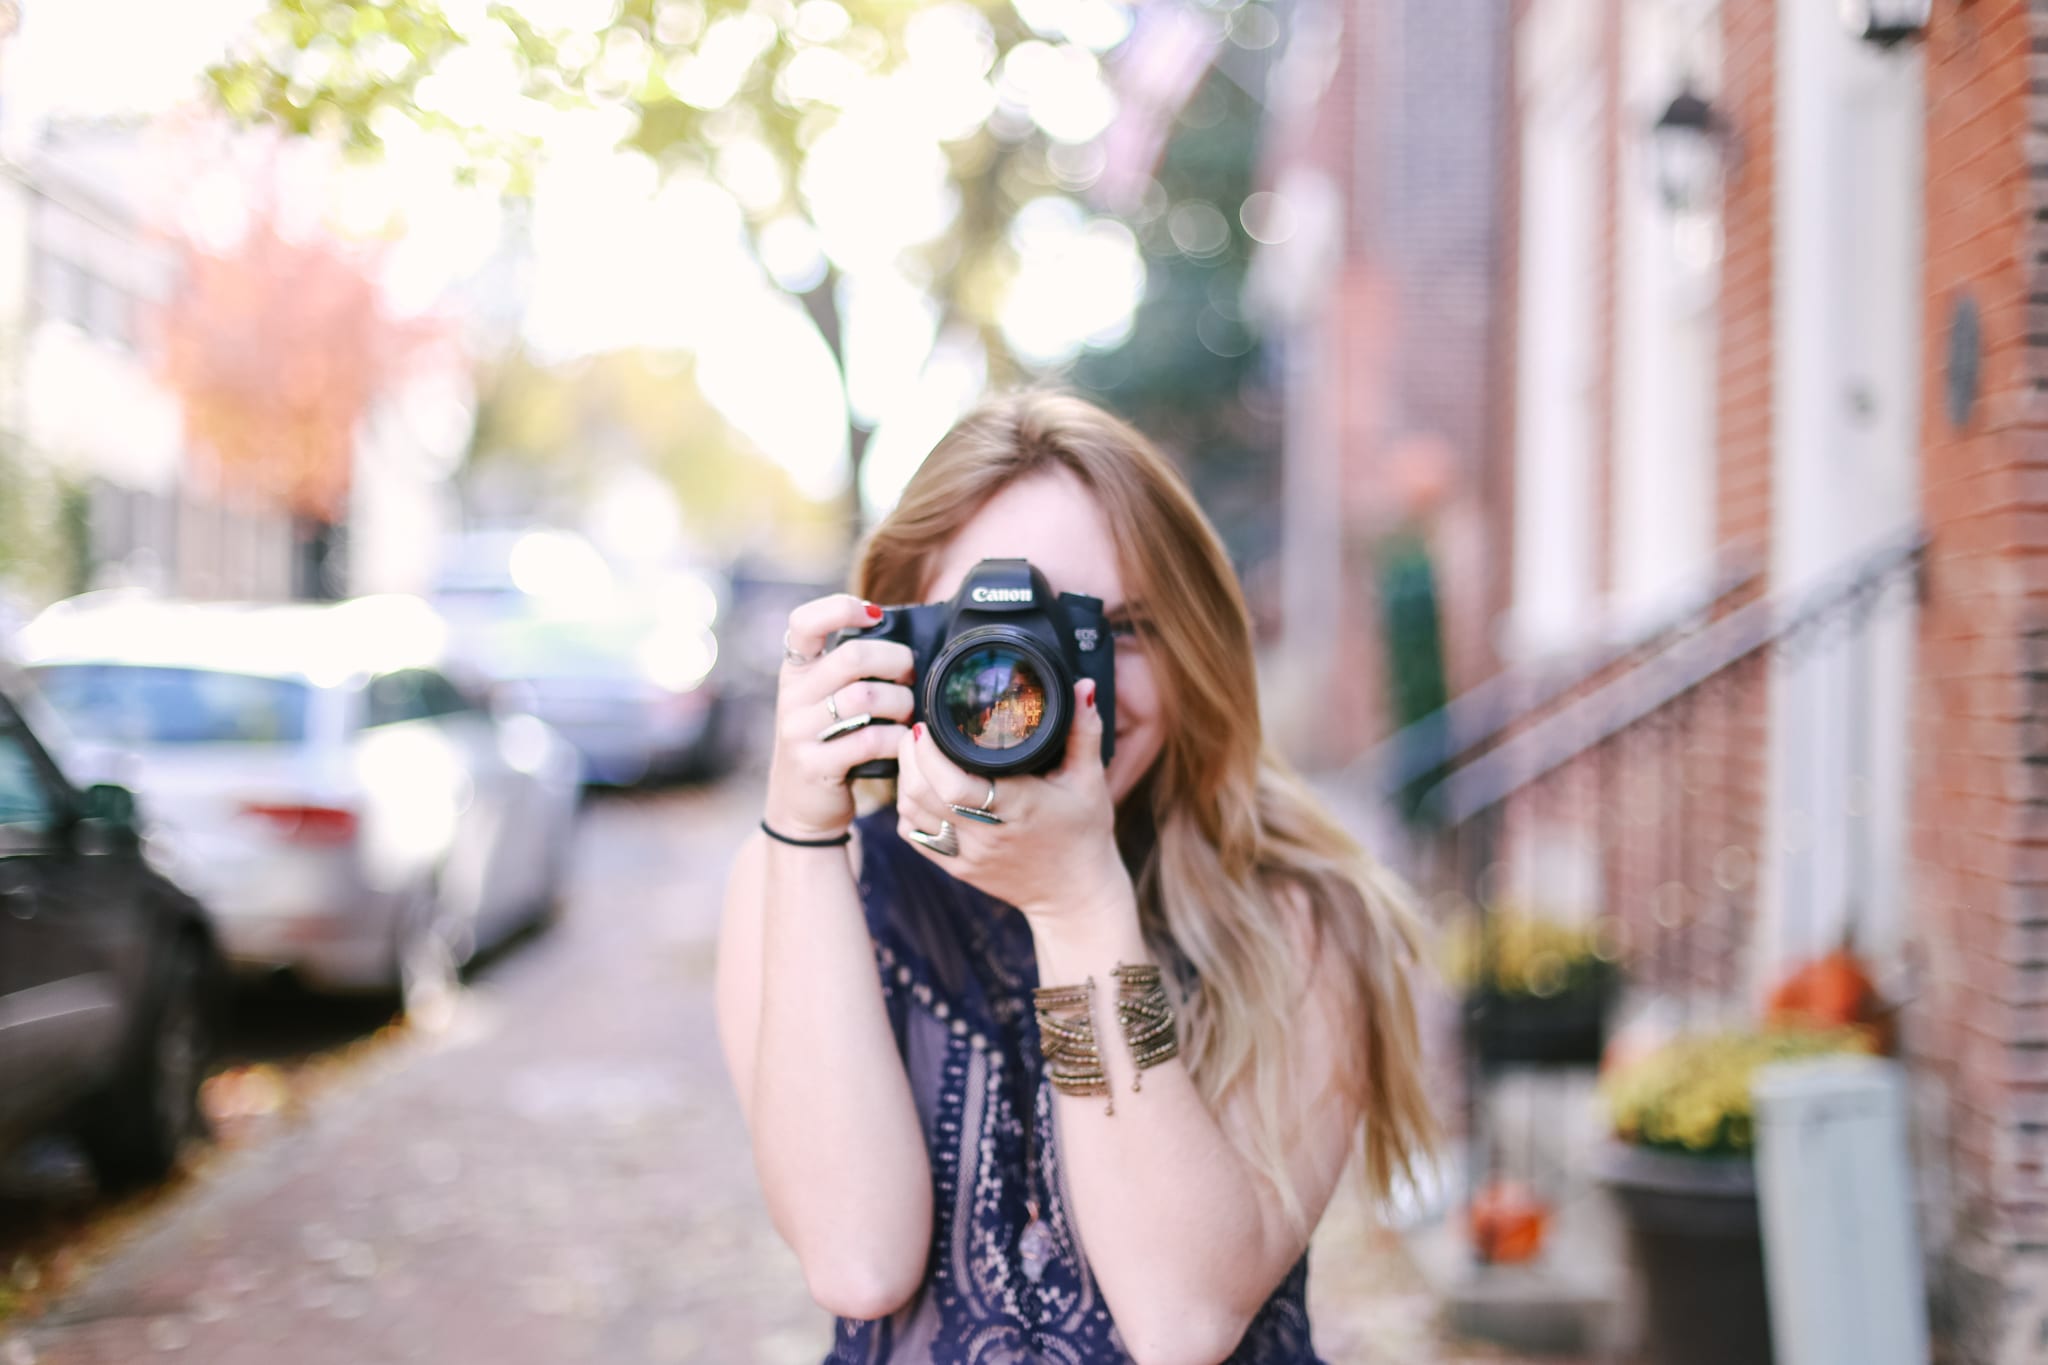
Get Close And On the Same Level!

Remember that the subjects you’re photographing aren’t used to getting their photos taken regularly, so stay in control and lead through different poses and locations with confidence. You’re the expert, so explain to them your ideas and positioning. Guide them. If you’re photographing 2 or people, have them get closer than may seem normal, so that no space creeps in between them. Empty space between subjects is distracting. Look for nice colors, textures, and clean backgrounds, and keep an eye out for steps and benches – they are great for having everyone on the same level. And watch where their hands are! When subjects are unsure where to place their hands, it is the first thing to be noticed in a photograph.
Simple tip: Whether it’s having them embrace, whisper a secret joke in the other’s ear, or moving them an inch to the left, having them close and connecting with each other will help make the photo look like a candid moment captured in time. Plus, it just helps them look more comfortable!
Manual is Freedom

The best way to take full creative control of the way your photographs are coming out is by capturing through Manual mode in your camera’s settings. When you put your camera’s settings on Manual, it lets you manually control shutter speed, aperture, and ISO. These three settings work together to control to change the look of your image and how bright or dark your photo is. In other words, YOU, not the camera, are taking the picture when you put the settings on Manual. The last thing you want to do is photograph in Automatic, as that gives your camera full creative control to set it how it think it should photograph the exposure correctly. It can be too difficult for your camera to capture in auto modes, when in some tricky lighting situations, like for example, photographing golden hour when you’re dealing with sun flares. It also creates inconsistency in your images, when one photo is overexposed and the next is underexposed.
Simple tip: Set your camera to Manual mode, read the actual manual that came with your dSLR, and learn the photography triangle of ISO, Aperture, and Shutter Speed. It’s a life-saver!
Set Your Aperture

Want to get your focus directly on your subject? Set a wide aperture. In other words, fiddle with the settings on your camera and set the f./ stop to 1.4-2.8. The lower you go, the fuzzier the background will be. Make sure to step back though, as you want your subjects to be clearly in focus. This is ideal for a single subject. If you have more than one person, bump up your aperture. The more people in your group photo, the higher the aperture should be. For example, I would set my aperture to f./1.8 for a headshot of one person as opposed to a group of 6, where I would set it f/5.6.
Simple tip: set your aperture as low as you can go, take a few steps back, narrow in your focus point on their eyes, half-press the shutter and capture! Voila! A clear portrait and a super fuzzy background. Bonus points in you have a bright and colorful background!
It’s All in the Eyes!

Ever notice those little twinkles in a person’s eyes when you’re with them? Those are called “catchlights” and you definitely want them when capturing portraits of your subject! They add a little OOMPH to a person’s face and instantly light up their face!
Simple tip: After choosing the right background, stand in front of your subject and ask them to turn with you. Once you notice the light from the sun reflecting in their eyes, that’s the angle to shoot from! Basically, the sun’s twinkle directly needs to hit their eyes.

Pin This for Later!


hey lovely
I'm Helena
Free-spirit, author, astrocartographer and all around creative in love with documenting the simple joys of life. I am passionate about noticing light and truth around me and reflecting it back to others.
GET TO KNOW ME


browse around the podcast
for what will serve you best
listen to the podcast
™
Listen Here
Listen Here
popular
Intuitive living
Listen to your inner voice and follow it. Inspiration to trust yourself and your gut.

joy
Looking for some inspiration to live free and true to your heart? These posts will uplift and encourage you!
astrocartography
Free tips and resources for how to read your astrocartography map of the world!
it's personal
Helena shares her heart, experiences and what she's learned through trial and error!
categories
From Me To You
Get my (Travel) Postcards.
Join my free email newsletter to receive encouragement, astrocartography tips and inspiration from my travels on the road.
Join here
Good vibes only. No spam.


